Rocking the Milkmaid Braids!
If you're anything like me, you hate it when your hair sticks to your sweaty neck during the summer-- ick! Being that I have long, thick hair, putting it up is a must when it's hot and steamy out. And if I can do it stylishly, it's a bonus.
Top knots, low, sleek buns, sock buns, waterfall braids, milkmaid braids-- they are all in my current summer hair rotation (gotta keep it fresh). So today I'm going to show you all my version of milkmaid braids. You'll need a brush, a rat tail comb, snag free tiny elastics, snap clips and bobby pins that match your hair. Let's get started!
1. Brush hair threw and part down the center with your rat tail comb.
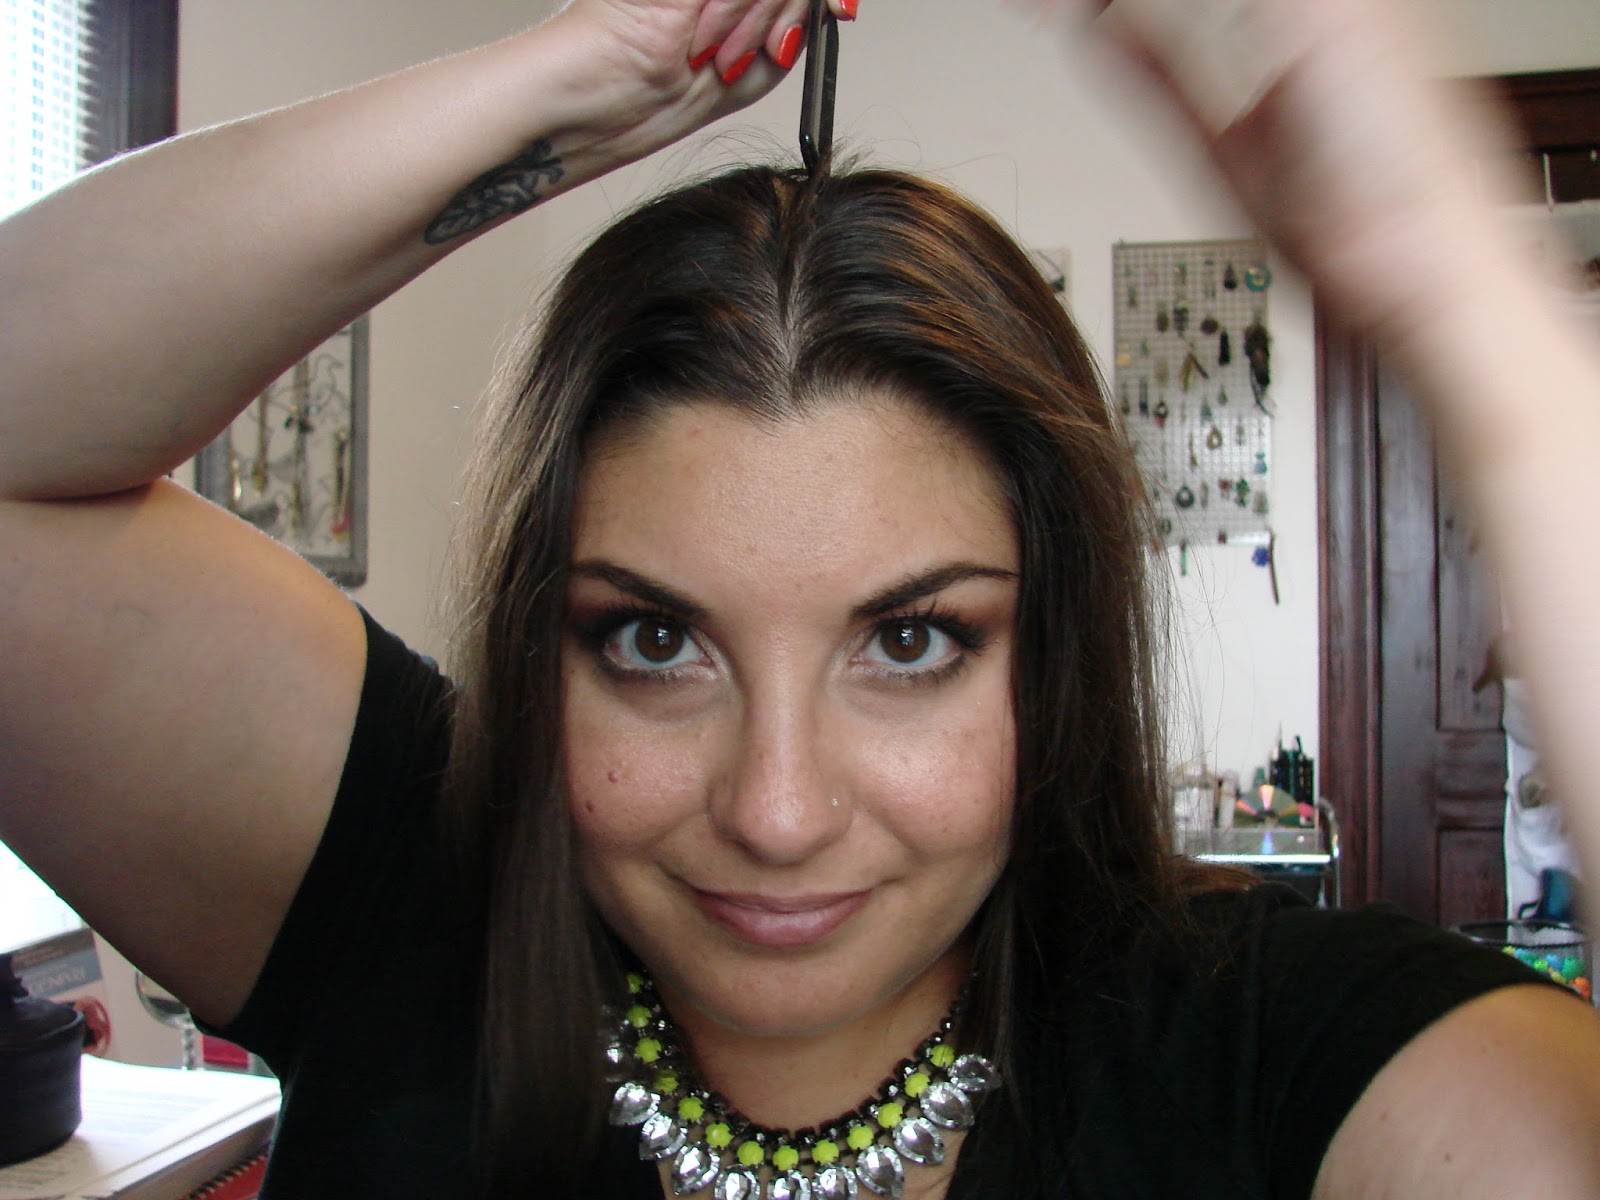
2. Tie one side off to keep the right and left sections separate. Time to start braiding! Tip: where you begin braiding depends on the length of your hair and how short your layers are. Shorter/more layered 'dos will want to start braiding just above ear level. For longer, one-length 'dos, start below the ears.


4. Once both braids are complete, you can start pinning them up, starting with the very end/tail of the each braid (one at a time, of course). I like to use snap clips, because they give a secure hold to the ends, and then follow up with bobby pins to pin the braids down flat. Once secure, mist with hair spray for hold if yo want (I usually skip this step).

5. Voilà! Get out of here and enjoy your cool-neck updo!

Top knots, low, sleek buns, sock buns, waterfall braids, milkmaid braids-- they are all in my current summer hair rotation (gotta keep it fresh). So today I'm going to show you all my version of milkmaid braids. You'll need a brush, a rat tail comb, snag free tiny elastics, snap clips and bobby pins that match your hair. Let's get started!
1. Brush hair threw and part down the center with your rat tail comb.
2. Tie one side off to keep the right and left sections separate. Time to start braiding! Tip: where you begin braiding depends on the length of your hair and how short your layers are. Shorter/more layered 'dos will want to start braiding just above ear level. For longer, one-length 'dos, start below the ears.
3. Braid each section to the very end and tie off with a thin elastics.
4. Once both braids are complete, you can start pinning them up, starting with the very end/tail of the each braid (one at a time, of course). I like to use snap clips, because they give a secure hold to the ends, and then follow up with bobby pins to pin the braids down flat. Once secure, mist with hair spray for hold if yo want (I usually skip this step).
 |
| Tip: Don't worry too much about little fly-aways-- this is meant to be an easy, casual look. I look pretty worried here-- I should take my own advice! |
Love,
Michele
I wanna see a back or side view too! Also, I love your necklace :)
ReplyDeleteThe back just look like it does with pigtails. I think I might have a (not so good) shot from the side. If I can find it, I'll post it.
ReplyDelete